A Training Guide for VL
About This Space
Video laryngoscopy is no longer the future — it’s the standard. Yet few clinicians receive systematic training in how to truly use it well. This curriculum builds a deep understanding of the technique, the technology, and the human factors that define success. Whether you’re a beginner or an expert, you’ll learn to integrate video laryngoscopy seamlessly into your airway practice.
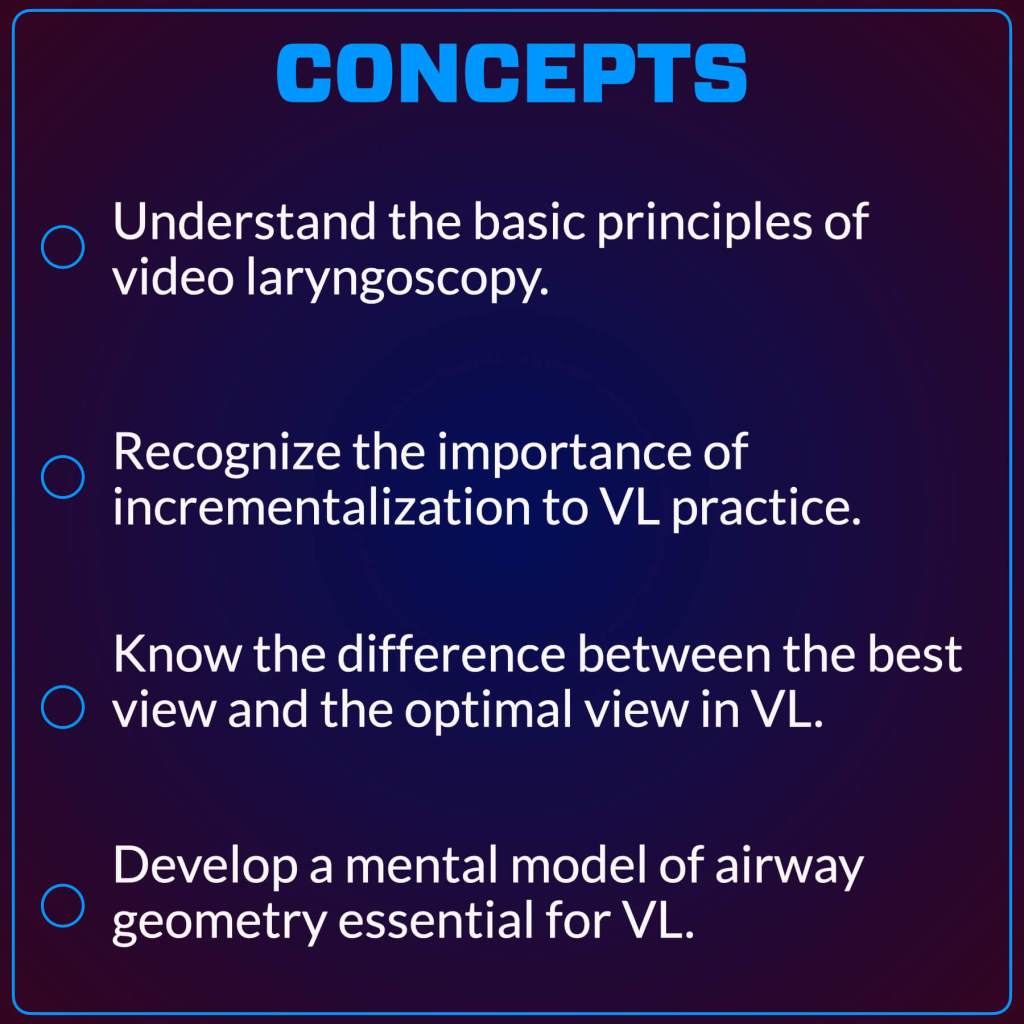
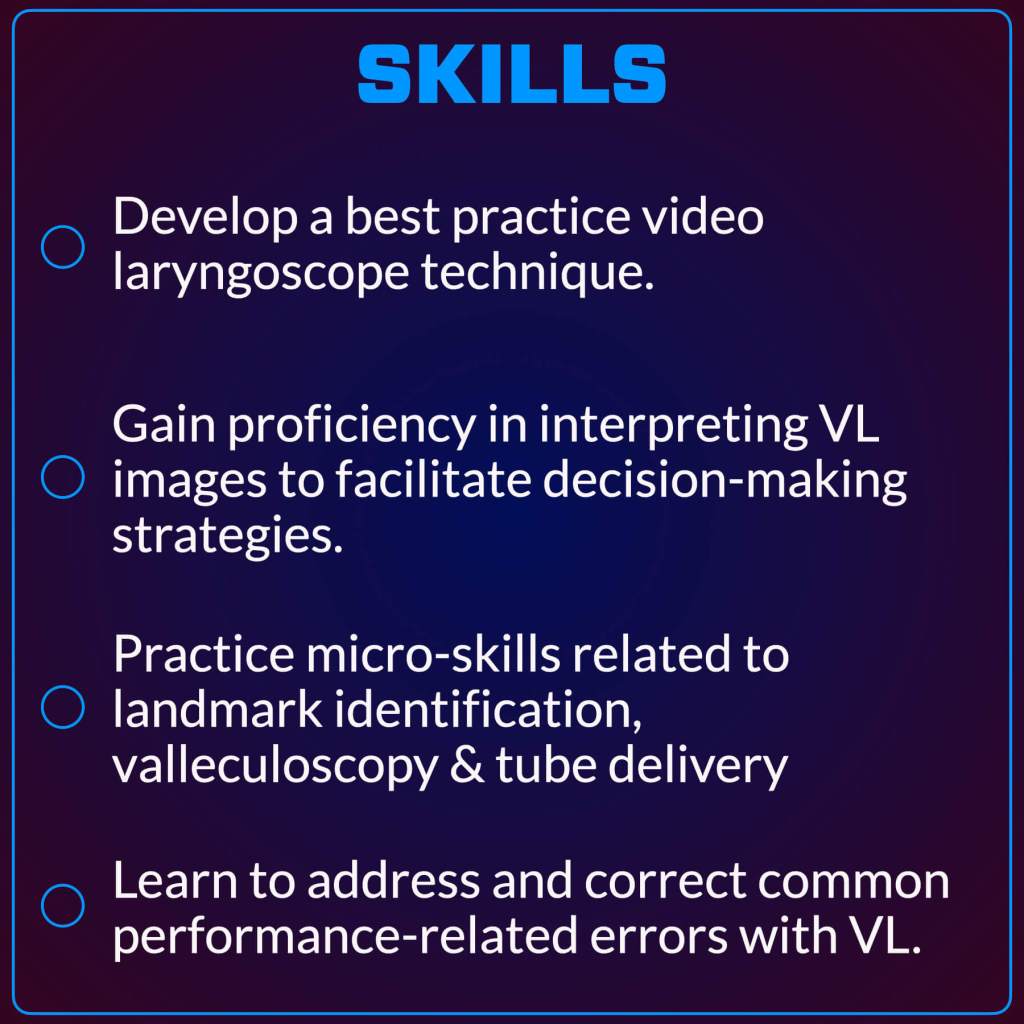
Learning Objectives
An Overview of VL
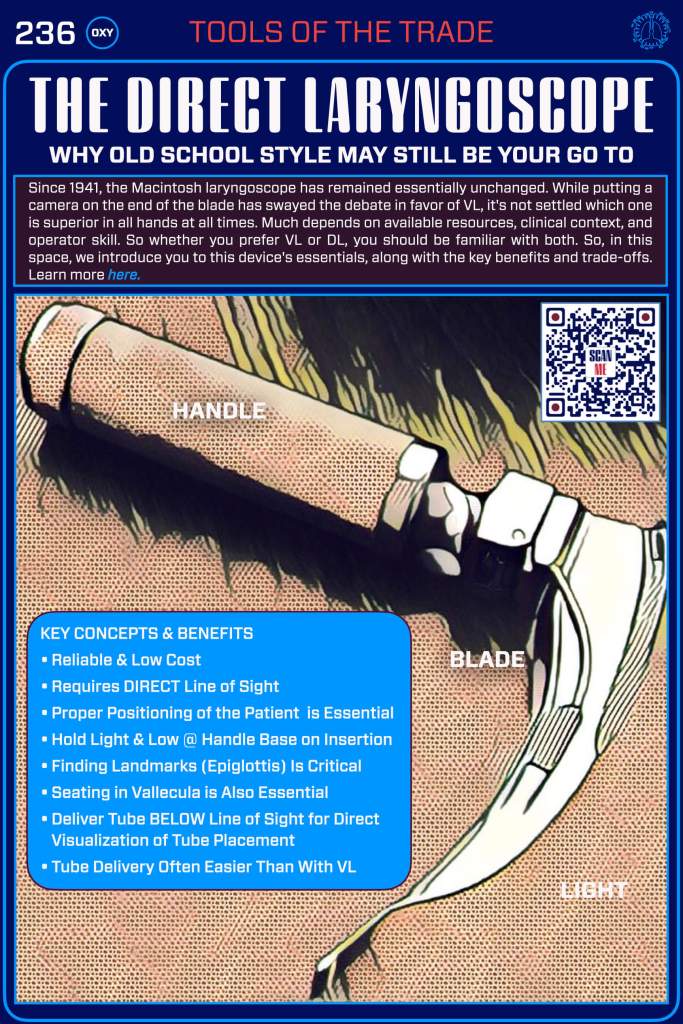
Video laryngoscopy (VL) employs a video camera and a display screen to visualize the larynx and vocal cords. In contrast to direct laryngoscopy, which requires the clinician to align the oral, pharyngeal, and laryngeal axes for a direct line of sight, video laryngoscopy allows maneuvering around structures such as the tongue, facilitating indirect visualization.
A Universal Approach – Progressive Laryngoscopy
Your approach should be consistent, regardless of the device you choose (VL or DL). Progressive laryngoscopy is a structured approach that enhances visualization of the larynx while minimizing patient trauma and maximizing the chances of successful intubation. This method involves incremental steps to enhance visualization and achieve optimal glottic exposure before attempting tube insertion. If you need to review the essentials of progressive laryngoscopy before proceeding to the VL-specific skills discussed below, you can find them. 👉 Review laryngoscopy essentials here.
VL Specific Skills
While the structured approach of progressive laryngoscopy applies equally to DL and VL, specific considerations and skills related to VL are also applicable. You must understand these VL-specific issues and how to adjust to them.

Gaze Shifting
A crucial yet often overlooked skill is the ability to shift your gaze between the patient and the screen. Beginners may struggle with this transition, getting focus locked on the screen or the patient, or misjudging the timing. Such difficulties can hinder your intubation attempt and inadvertently cause injury to your patient. Take a moment to review this video for guidance, then practice to enhance your gaze-shifting skills.
Protecting Your Optics
The benefit of VL, which provides a clear view on a high-quality screen, depends on the camera on the blade. Blood, mucus, vomit, glare, fogging, and other technical issues can compromise that view and make intubation difficult. Remembering to protect your optics will enhance any VL technique you develop.
Lead with suction
Prevent contamination of your laryngoscope’s optics by looking in the mouth and utilizing a suction device, such as a large-bore DuCanto Catheter or Yankauer. Blindly inserting your laryngoscope blade may rapidly lead to a diminished view as secretions and other airway contaminants obscure your camera.
Stay high & Dry
Avoid secretions and airway contaminants by hugging the base of the tongue to stay “high and dry” as you advance the tip of the blade towards the epiglottis and into the vallecula. Most airway fluids will pool in the posterior oropharynx. You can avoid them by hugging the base of the tongue as you insert and advance the blade.


Employ SALAD
The SALAD technique can be employed when continuous, massive airway contamination occurs, such as during an upper GI bleed or when ongoing vomitus is present. This valuable technique is covered in our Situationally Difficult Airway Learning Space. 👉 Visit here.
Avoid Glare
The quality and clarity of the image on the screen depend on the calibration process that adjusts the camera’s color temperature to match the ambient light conditions. In current-generation video laryngoscopes, this process is mainly automatic, but it is not infallible. Foamy secretions and tongue discoloration can cause glare and impair your view. Suctioning those secretions and manually calibrating your device’s white balance can help.
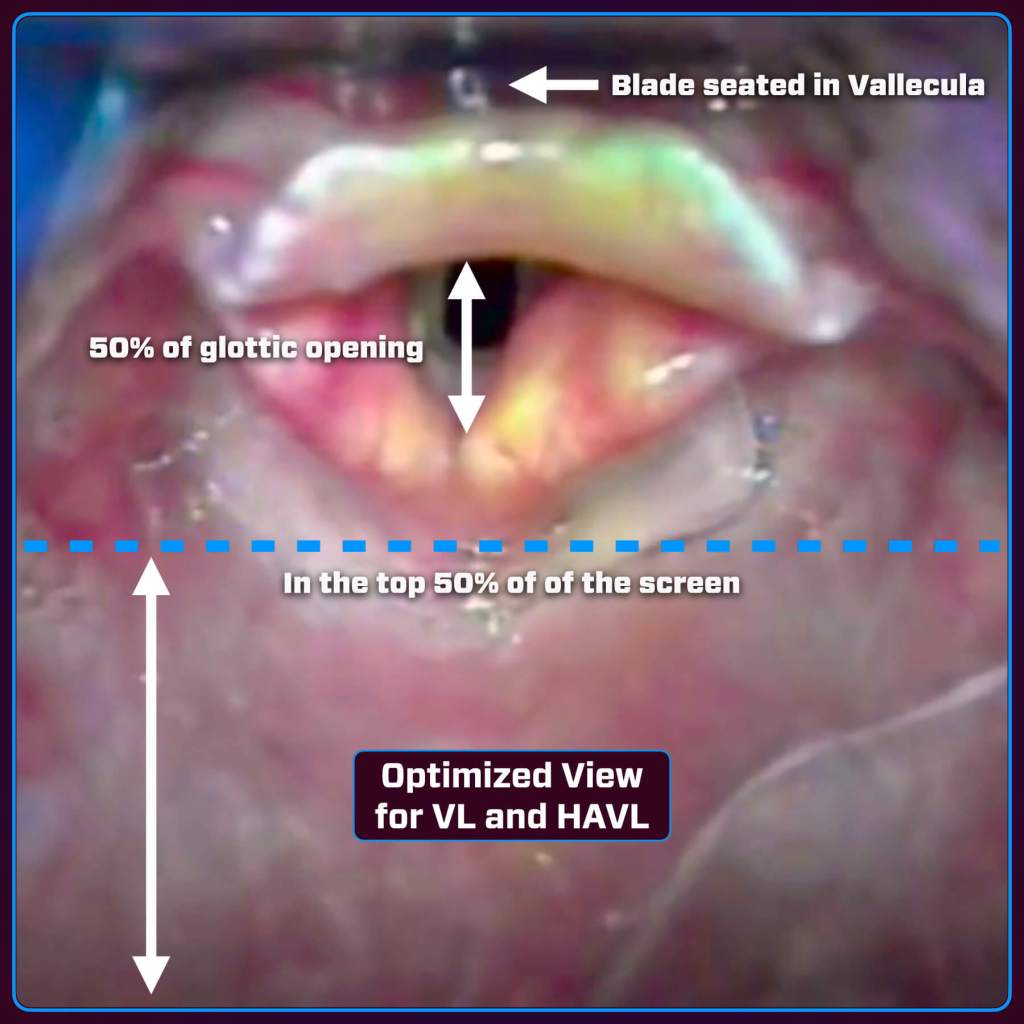
The Optimal View (Not the Best View)
VL provides excellent views of the glottic opening, but that perfect view may not be optimal for tube delivery. Success with VL requires you to recognize the difference and adjust your view to facilitate tracheal access.
Too Close
Getting up close will give you a great view of the anatomy, but if the blade is too close, the glottic structures will take up most of the screen, reducing the working space in the field of view. As the tube is inserted, it will also take up most of the screen and block your view of the trachea. A too-close perspective can also make it harder to judge distances, making it difficult to align the endotracheal tube (ETT) with the vocal cords.

Too Acute (Angle of Approach)
The endotracheal tube (ETT) can enter at a steep angle, complicating its passage through the vocal cords and potentially causing it to strike the anterior commissure. As a result, the tube may repeatedly contact anterior structures rather than advancing smoothly into the trachea. If the tube becomes misaligned, redirecting it can be challenging due to limited maneuvering space.
If you closely examine the images above, you will notice that the tracheal rings are visible in the “too close” image. This indicates that the view is too acute as well! The ideal view is where the trachea appears “dark and deep.” This signifies that the angle to the trachea is optimal for tube delivery.
Solutions
| Technique | Description |
| Pull Back the Blade Slightly | This increases working space and improves visualization. |
| Optimize Blade Placement | Position the blade tip in the vallecula and ensure engagement of the hyoepiglottic ligament. |
| Tip the Handle Forward: | Instead of rotating the handle towards you, tip the handle forward (away from you) for easier tube passage. |
| Use a Bougie or Stylet | A properly curved stylet (hockey-stick shape) or bougie can help guide the tube into the glottic opening. |
| Adjust Head Position | Repositioning the head into the sniffing position can facilitate tube passage. |
| Rotate the tube | Rotate 90° clockwise if stuck on the anterior commissure. |
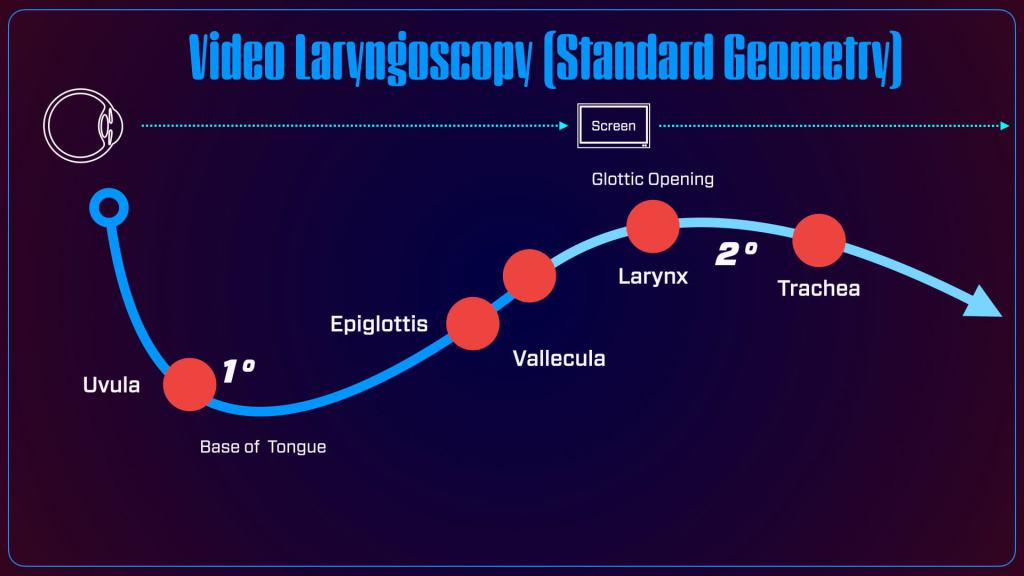
A Different Mental Model
Unlike the direct line-of-sight approach of DL, VL requires a new understanding of airway geometry to effectively interpret the two-dimensional images displayed on the screen during the procedure. You can learn more about this updated mental model for video laryngoscopy here.
Visual Review for VL Success
Take some time to observe as we review key aspects of video laryngoscopy to help you develop a best-practices approach from beginning to end.
Rapid Review
Basic steps
Curated MedEd
BUILD YOUR LEARNING NETWORK. AIME has again provided a great demonstration of the proper placement of the laryngoscope into the vallecula.
What’s Next
Find Or Click Me
Nice work—you’re through this section! To keep going, scan the QR code on the physical poster at the next station in our pop-up training space to access the next set of digital content. Prefer to stay online? Just click the poster image here to continue your journey.
Follow Us

You must be logged in to post a comment.