Core Content to Safely Manage This Airway Device
| Introduction | The Essentials |
| Deep Cuts | What’s Next |
The Core Essentials
What You Need to Know
Let’s cut through the noise. These are the essentials. Want to go deeper? Scroll down to the Deep Cuts section. If you’re in one of our immersive pop-up spaces, hit the linked station for hands-on practice and next-level skills training.
Begin by reviewing the infographic and scanning the available digital content. After that, engage with the sample tubes provided at our interactive pop-up station. By the end of this activity, you will be able to identify the key features of tracheostomy tubes, enabling you to confidently manage this critical device. By the end of this session, you will be able to:
- Recognize that trach tubes vary in design to meet patient needs
- Identify key features: cuff, cannula, fenestration, size
- Understand how design affects ventilation, suctioning, communication, and emergency response
- Know where to find tube info and why small details matter
If you manage airways, you need to be confident when dealing with tracheostomy emergencies. That means knowing your way around a tracheostomy tube, also known as a “trach tube” or just “trach”. Whether you’re in the ED, ICU, OR, or on the floor, a trach-dependent patient won’t wait for you to figure it out — and that confidence starts with knowing the gear.
Tracheostomy tubes aren’t “one size fits all.” They vary widely in shape, features, and function to meet a patient’s specific needs. While the overall design may look familiar, those details—cuff, cannula, fenestration, size—can directly impact airway management, ventilation, suctioning, and patient safety.
Understanding these variations helps you anticipate complications, communicate effectively, and deliver safer care, especially in emergency situations. Remember, that tracheostomy tube isn’t just a piece of plastic — it’s your patient’s lifeline to oxygen. In this station, we’ll break it down: the key parts, the variations, and the features that matter when seconds count.
So let’s get familiar with the essentials: Is the tube cuffed or uncuffed? What’s the size? Does it have an inner cannula? Is it fenestrated? These features shape how you respond under pressure. And knowing how to find that information is a core part of trach management.
Because small design differences can have big clinical consequences.
🔑 Key Features of a Tracheostomy Tube
Signal Over Noise
For such a “simple” device, there are a surprising number of details—tiny stenciled labels, odd little doo-dads inside and out. In an emergency, how do you cut through the clutter and focus on what really matters? It’s easy to get overwhelmed, but if you know what you’re looking for, the rest falls into place.
Let’s start with the most important features in this short video, then review the content below before moving on.
Don’t Forget This!
That Extra Piece of Plastic…
The obturator is a stiff, rounded device designed to assist with the safe insertion of a tracheostomy tube. It slides inside the outer cannula to create a smooth, blunt tip that reduces the risk of tissue trauma during placement. Once the trach tube is inserted, the obturator is immediately removed, allowing airflow through the tube and insertion of the inner cannula if needed. It’s not used during routine care or emergencies — its role is strictly for guiding initial tube placement or reinsertion.
A Couple of Important Microskills
You’d think there’d be one standard design for tracheostomy tubes—especially when it comes to safety. But nope. Most cuffed tubes do have a Luer lock on the pilot balloon, but the inner cannulas? That’s where things get annoying. Different brands use different connectors—some snap in, some twist and click. It’s not always obvious which is which.
Here’s a look at a twist-and-lock version. Be sure to get hands-on practice with these microskills—they can trip you up when it counts.
Features of Trach Tubes (Expanded Edition)
Here’s a little more information about trach tubes and their essential features,

1. The Tube Itself (Outer Cannula)
- A short, curved cannula is inserted through the tracheostomy stoma directly into the trachea.
- Comes in different materials (PVC, silicone, metal) and sizes — always check the inner diameter (ID), not just the outer!
2. Inner Cannula
- Many tubes have a removable inner cannula that can be cleaned or replaced.
- Clogged cannula = blocked airway — check it early in any decompensation.
3. Cuff vs. Cuffless
- Cuffed tubes seal the airway, protect against aspiration, and allow positive pressure ventilation.
- Cuffless tubes are for stable patients with an intact upper airway.
- Always know the cuff status — and never overinflate (unless for TIF).
4. Flange (Neck Plate)
- The external plate that rests on the skin and secures the tube with ties or Velcro straps.
- It displays the size and type of the tube — use it for a quick ID in emergencies.
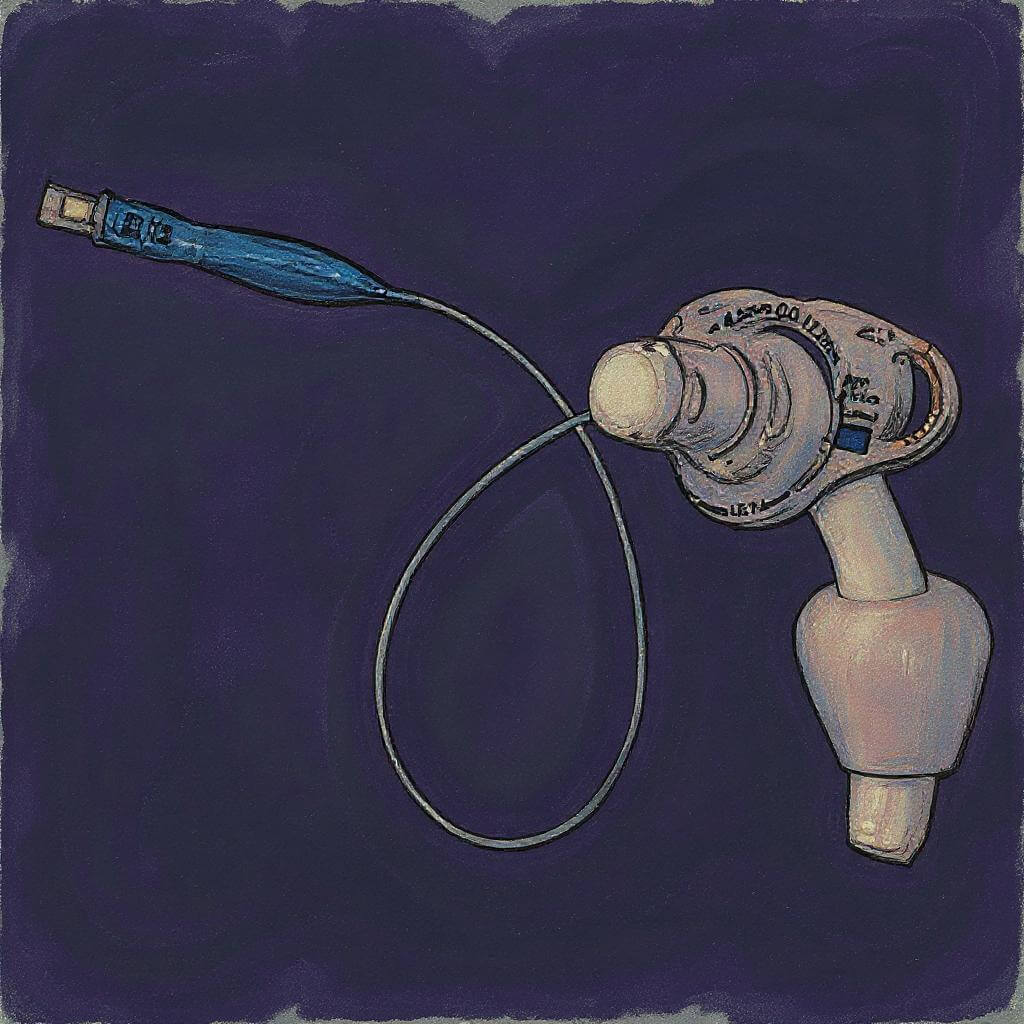
5. Pilot Balloon
- Connects to the cuff, providing tactile and visual feedback on inflation status.
- Flat balloon? Likely deflated vs leak.
- Tense balloon? Inflated cuff — but don’t over-inflate, confirm cuff pressure.
6. 15 mm Connector
- Standard port that allows you to hook up to a bag-valve mask or ventilator circuit.
- All trach tubes should be connectable — if not, have an adapter ready.
7. Obturator
- Inserted into the outer cannula of the device before being placed to protect the patient from injury during insertion.
- The inner cannula must be removed and set aside in a safe location, then reinserted after placement.
🎧 Deep Cuts
You’ve got the basics down—great work! To keep learning, head to the next poster. Want to go deeper? Click Deeper Cuts for extra clinical pearls, evidence reviews, and curated links to expand your learning network—or bookmark it and return anytime.
👉 Click Here for Deeper Cuts
🎸 Great! Welcome to the Deeper Cuts for this Topic

Tracheostomies are simple devices, but if you’re not familiar with their basic design and some of their variations, they can be more intimidating than they have to be. Let Dr. Crane walk you through the various features of this device (9:43 min).
The Bottom Line
Understanding tracheostomy tube design isn’t a minor detail—it’s essential to safe care. Whether the tube is cuffed or uncuffed, its size, the presence of an inner cannula, and whether it’s fenestrated all directly affect how you suction, ventilate, communicate, and manage emergencies. Knowing how to find this information is a core part of trach management. When in doubt, speak up. Small design differences can have big clinical consequences.
There’s a Hands-On Station Ahead

If you’re inside one of our immersive pop-up learning spaces—where audio, video, and hands-on interaction come together—don’t miss the nearby station. You’ll find anatomic models, airway devices, 3D-printed objects, and other tactile tools designed to deepen your understanding and bring this topic to life. Take a moment to engage. Touch. Try. Test. It’s all part of the experience.
What’s Next
Find Or Click Me
Nice work—you’re through this section! To keep going, scan the QR code on the physical poster at the next station in our pop-up training space to access the next set of digital content. Prefer to stay online? Just click the poster image here to continue your journey.

You must be logged in to post a comment.