Your Interactive Hands-On Training Solution
| Guided Video | Guided Audio | The Checklist |
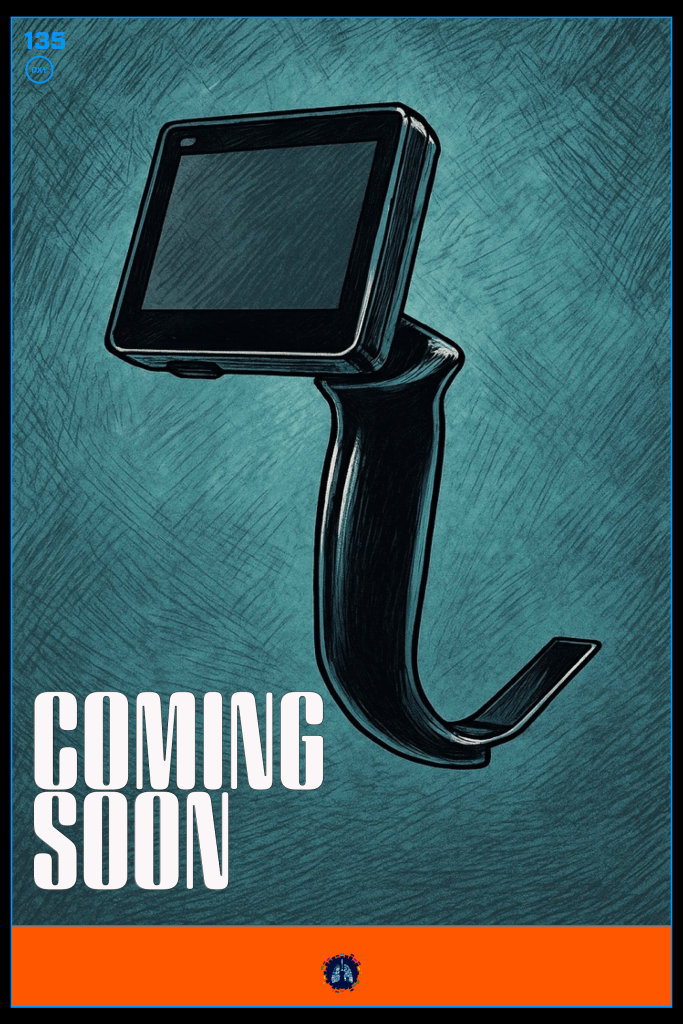
| Holding Device | Blade Insertion | Landmark ID |
| Optimizing View | Tracheal Access | What’s Next |
Instructions
This guide is part of our digitally enhanced, hands-on curriculum designed to help you master video laryngoscopy. Step up to the practice station, place your mobile device in the holder, and use voice commands to navigate through the training. A step-by-step practice guide is below as an additional resource.
- Step up to the hands-on station.
- Place your mobile device in the holder.
- Start the video.
- Use hands-free commands.
- Pause and practice key skills.
It’s time to focus on establishing the key skills you need for success. Review, practice, repeat, and then head to the next station when you’re ready.
Your Skills Checklist
- Holding the laryngoscope
- Inserting in the mouth
- Progressive anatomy ID
- Valleculation
- View optimization
- Tube delivery
- Stylet removal
- Gaze Focus
Step Into the Training Lab

Use this video designed for hands-free self-guided practice at any of our pop-up training stations. (coming soon)

Sometimes video can be distracting. Use this audio designed for hands-free self-guided practice at any of our pop-up training stations. (coming soon)
Breaking it Down
We’ve broken down this self-guided sequence into short videos below with extra detail on each step. Scroll down or use the navigation bar here to go directly to specific content.
Skills to Master
Skill 1: How to Hold the Device & ETT With Stylet
Checklist:
- Hold the VL device in your LEFT hand
- Soft, light & low grip

Skill 2: Insertion into the Mouth
Checklist:
- Open the mouth with scissor technique.
- Look in mouth & insert blade midline.
Skill 3: Progressive Landmark Identification
Checklist:
- Eyes on screen as the blade advances.
- Stay “High & Dry” to keep optics clean.
- Blade follows oropharyngeal contour.
- Practice bringing epiglottis into view.
Skill 4: Valleculation & Optimizing Your View
- Engage the Vallecula
- Pull Back (more room)
- Lift the Blade (up & away)
Skill 5: Accessing the Trachea
Step 1: Delivering tube to the target
- Look in the mouth
- Insert the tube at (3 o’clock)
- Advance around base of tongue
- Look at the screen
- Rotate into position (12 o’clock)
Step 2: Entering the trachea
- Thumbs up to “soften” the tube
- Rotate to 3 o’clock if necessary
- Advance into trachea
Step 3: securing the tube
- Rotate tube to 12 o’clock
- Use thumb to secure to VL handle
- Remove stylet
- Inflate cuff
- Hold tube in right hand
- Remove VL device
Checklist:
You must be logged in to post a comment.